Introduction to Homemade Cheesy Breadsticks
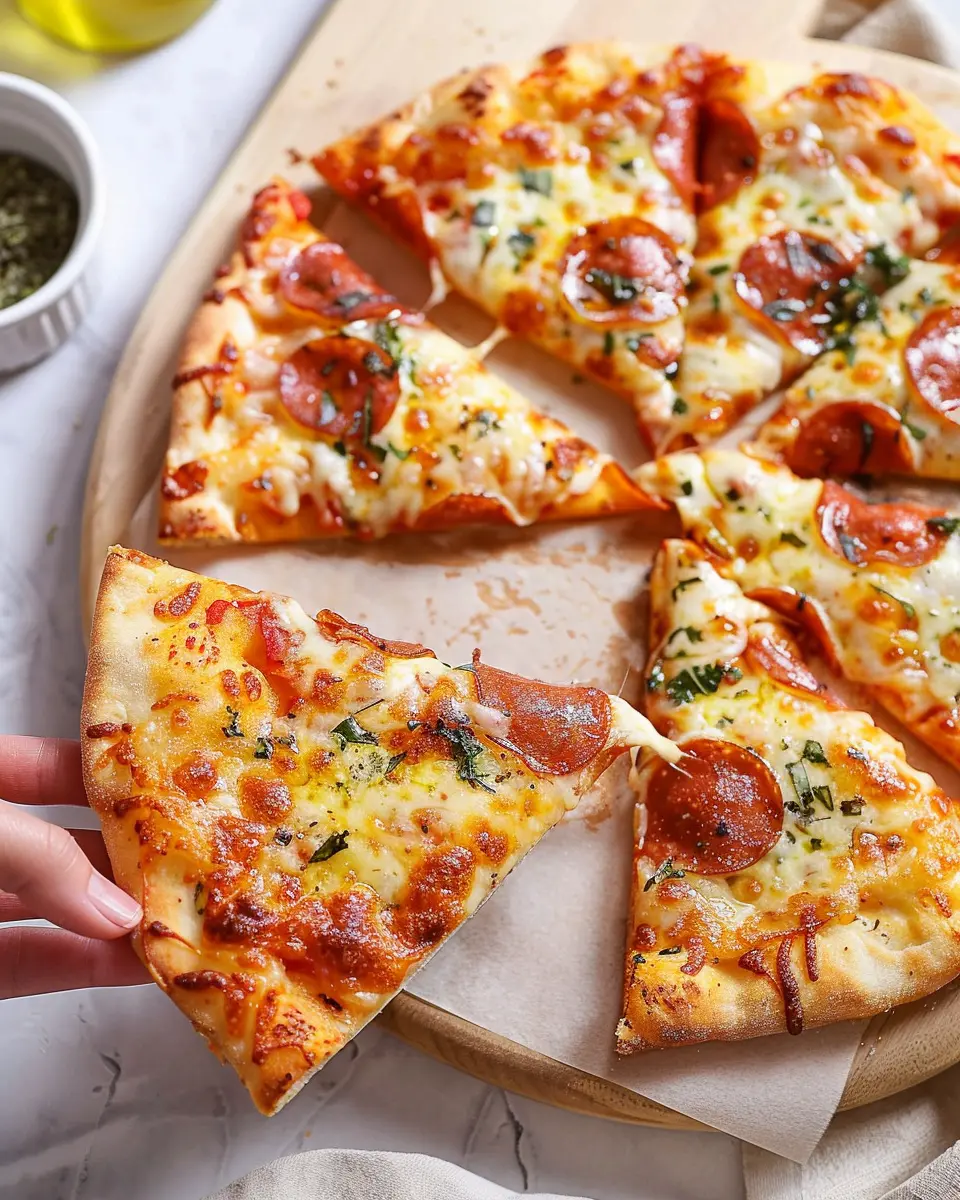
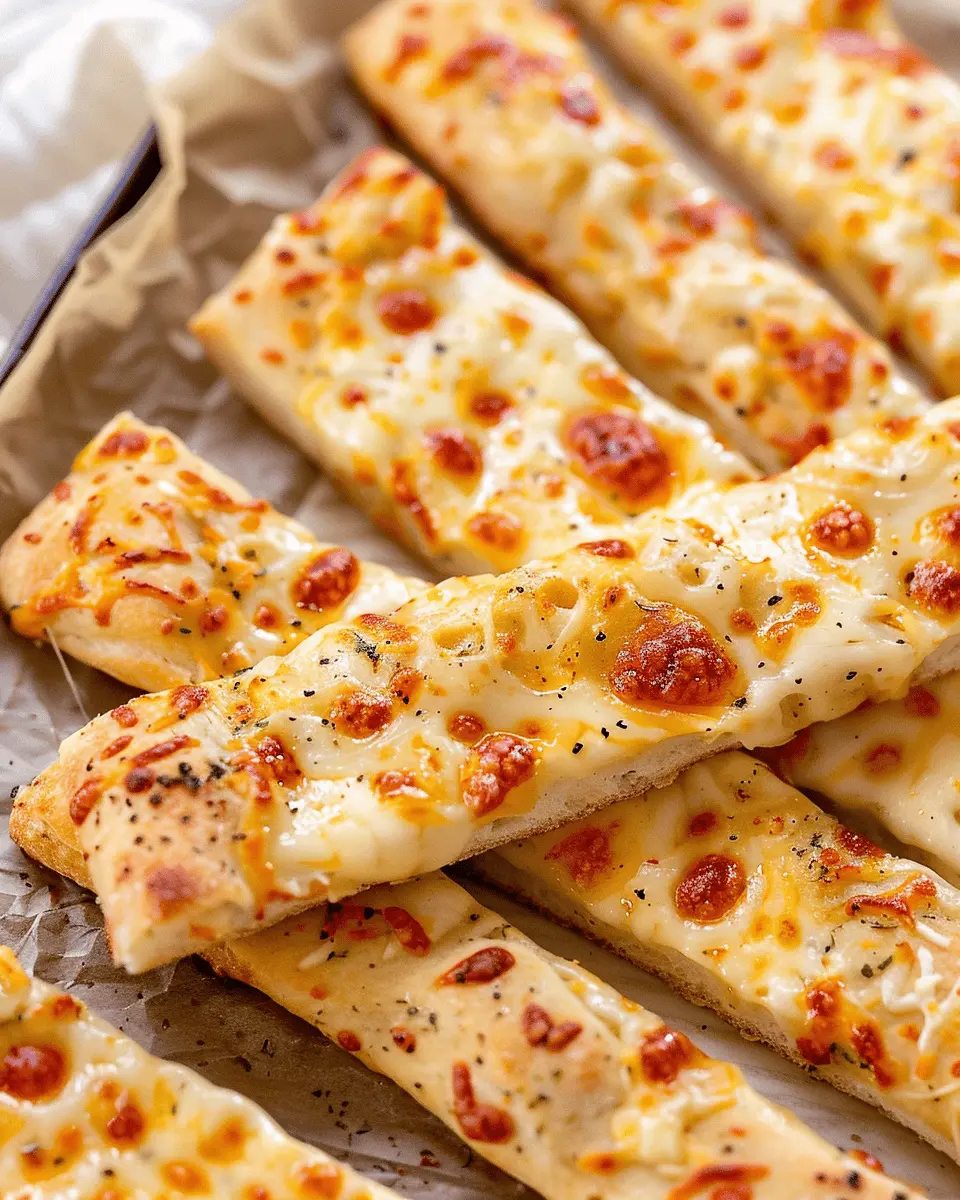
Are you ready to elevate your snack game? Homemade cheesy breadsticks are a delightful creation that can transform any gathering into a celebration. Picture this: warm, gooey strands of cheese stretching from freshly baked bread, beckoning you with their aroma. These breadsticks aren’t just food; they’re an experience.
Why Homemade Cheesy Breadsticks are a Game Changer
Imagine serving up a batch of your very own homemade cheesy breadsticks at your next movie night or dinner party. They’re versatile, incredibly easy to make, and sure to impress your friends. Unlike store-bought options, which can be loaded with preservatives and fillers, your homemade version allows you to control the ingredients. By using high-quality cheese and fresh herbs, you can craft a mouthwatering treat that’s bursting with flavor.
- Customization: Personalize each batch with toppings that suit your taste. Whether you prefer classic garlic butter, spicy jalapeños, or even organic herbs from your garden, the choice is yours.
- Healthier Option: When made at home, you can substitute ingredients to create a healthier version. Consider using whole wheat flour or opting for low-fat cheese. Healthline notes the benefits of whole grains, and your breadsticks can be a delicious way to incorporate them!
- Cost-Effective: Making breadsticks from scratch is usually less expensive than buying them from your favorite restaurant. Plus, you can whip up a large batch that keeps everyone satisfied without breaking the bank.
Homemade cheesy breadsticks are not just a snack; they’re a comfort food that evokes feeling and nostalgia. Think back to childhood parties when cheesy breadsticks were always a hit. By recreating this dish right in your kitchen, you’re not just cooking; you’re crafting memories.
And let’s not forget about the leftovers! These cheesy treats are just as delightful the next day—perfect for a quick lunch or a late-night snack. Imagine enjoying them with a side of marinara or a creamy garlic dip. It’s the perfect way to keep your cheesy cravings satisfied.
With just a few simple ingredients and minimal prep time, you’ll soon be on your way to baking up something extraordinary. Ready to roll up your sleeves? Let’s dive into the recipe!
Ingredients for Homemade Cheesy Breadsticks
Essential ingredients you’ll need
If you’re dreaming of homemade cheesy breadsticks that will impress your friends and family, here’s what you’ll need to get started:
- Pizza dough: You can buy pre-made or make your own from scratch.
- Shredded mozzarella cheese: The star of the show—choose a high-quality brand for gooey goodness.
- Garlic powder: Just a pinch will elevate the flavor to new heights.
- Olive oil: For brushing on top to achieve that golden finish.
- Fresh parsley: Chopped, to add a dash of color and freshness.
These core ingredients will set you on the path to cheesy bliss.
Optional ingredients for a flavor boost
Want to take your homemade cheesy breadsticks to the next level? Consider adding:
- Turkey bacon: Cooked and chopped for a delightful crunch.
- Chicken ham: Adds a savory element that pairs wonderfully with cheese.
- Crushed red pepper flakes: For a spicy kick to satisfy your taste buds.
- Parmesan cheese: A sprinkle on top for an extra layer of flavor.
Feel free to mix and match these optional ingredients based on your preferences! For more ideas on ingredient combinations, check out renowned culinary resources like Serious Eats or Bon Appétit for inspiration. Happy cooking!
Preparing Homemade Cheesy Breadsticks
Making homemade cheesy breadsticks is not just a culinary activity; it’s an experience that brings friends and family together. Whether you need a quick side for dinner or a snack for movie night, these breadsticks will always hit the spot. Let’s dive into the preparation steps, ensuring your breadsticks are cheesy, fluffy, and irresistibly delicious!
Gather Your Ingredients
The first step in your cheesy adventure is to assemble all the required ingredients. Here’s what you’ll need:
- All-purpose flour (about 2 cups)
- Yeast (1 packet, about 2 ¼ teaspoons)
- Warm water (1 cup, about 110°F for optimal yeast activation)
- Olive oil (2 tablespoons for flavor and texture)
- Salt (1 teaspoon to enhance taste)
- Sugar (1 teaspoon, a little sweet helps the yeast work its magic)
- Shredded cheese (such as mozzarella or a blend of your favorites)
- Garlic powder (for that aromatic touch)
- Italian seasoning (optional, adds extra flavor)
- Turkey bacon or chicken ham (optional, for a meaty twist)
Make sure to prep these ingredients in advance for a smooth cooking experience. It’s all about making the process easier and more enjoyable. If you’re curious about the best cheeses, check out this Cheese Guide.
Prepare the Dough
Once you have everything ready, it’s time to get your hands a bit messy!
- In a large bowl, combine the warm water, sugar, and yeast.
- Let the mixture sit for about 5-10 minutes until it becomes frothy. This indicates your yeast is alive and ready to create that delightful, fluffy texture.
- Add olive oil, salt, and about half of the flour. Stir until combined, then gradually add the remaining flour until a dough forms.
Kneading is essential at this stage. Turn the dough onto a clean, floured surface and knead for about 5-7 minutes, or until it’s smooth and elastic. Pro tip: if the dough feels too sticky, sprinkle in more flour, but just a little at a time!
Shape the Breadsticks
Now comes the fun part—shaping your homemade cheesy breadsticks.
- Once the dough rises for about 30 minutes in a warm place until it doubles in size, punch it down and transfer it to your floured surface.
- Divide the dough into equal sections, depending on the size of breadsticks you want.
- Roll each piece into a long strip, about 1 inch thick.
This is your chance to get creative! If you want to add turkey bacon or chicken ham, now’s the time to incorporate them by laying them on top or inside the rolled dough before shaping.
Add the Cheesy Topping
Let’s not forget the most important part: cheese!
- Preheat your oven to 400°F (200°C).
- Place the shaped breadsticks onto a baking sheet lined with parchment paper.
- Brush them with a mix of olive oil and garlic powder for a flavorful touch.
- Generously sprinkle shredded cheese on top, making sure each stick gets its fair share.
You can add Italian seasoning at this stage for an aromatic twist.
Bake to Perfection
Finally, it’s time for the delicious transformation!
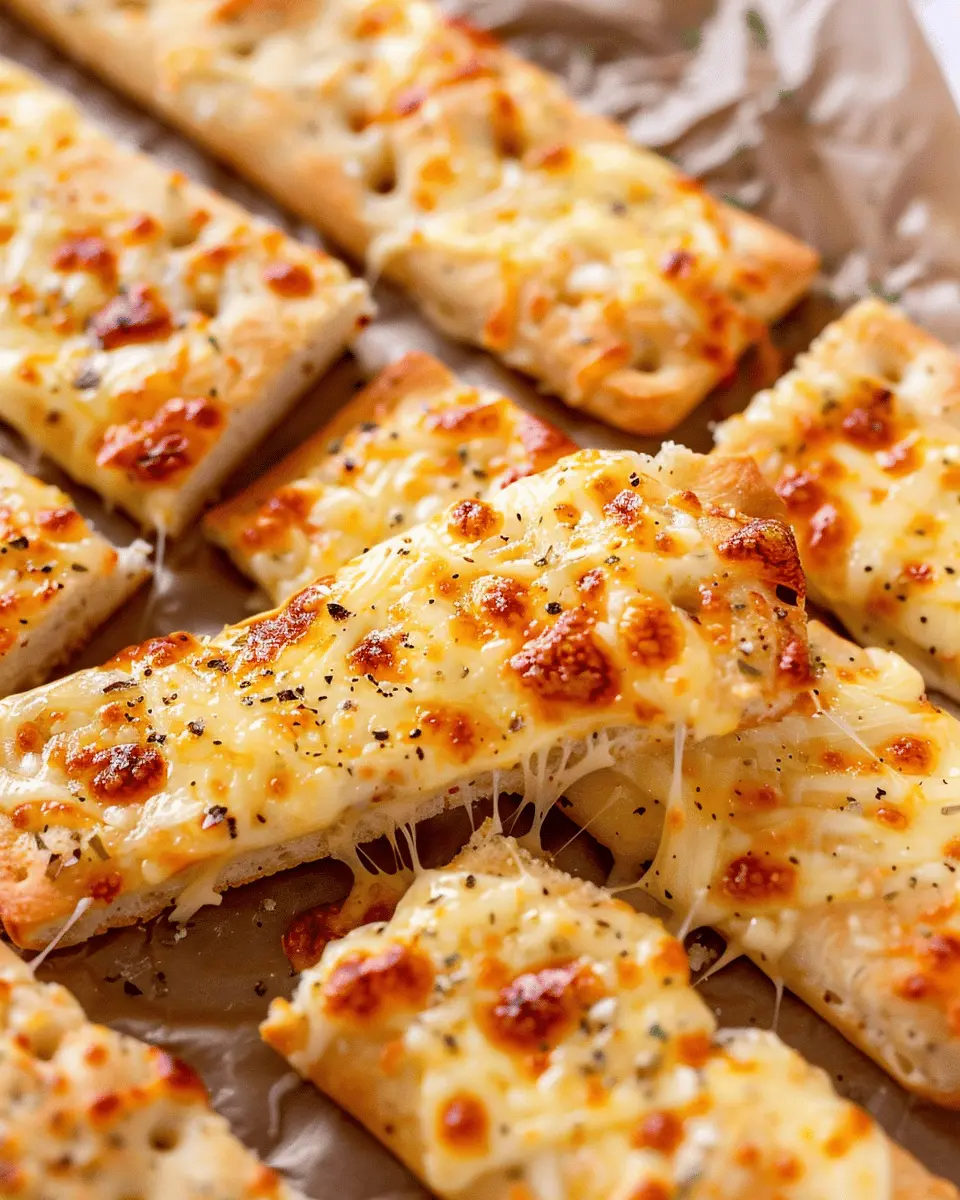
- Place the baking sheet in the preheated oven and bake for about 15-20 minutes or until the breadsticks are golden brown and the cheese is bubbling.
- Remove them when they look inviting and let them cool for a few minutes before digging in.
These homemade cheesy breadsticks are best served warm. You could even whip up a quick marinara sauce for dipping, making a delightful addition to any meal.
With this step-by-step breakdown, you’re sure to succeed in crafting these cheesy delights. Keeping it simple and engaging makes cooking fun and accessible. Enjoy your cheesy creation!
By following these steps, you’re not just making breadsticks; you’re making memories. Happy baking!
Variations on Homemade Cheesy Breadsticks
If you thought homemade cheesy breadsticks were delicious as is, just wait until you explore these fun variations! Whether you’re entertaining friends or treating yourself after a long day, these twists will elevate your snacking game.
Garlic Butter Cheesy Breadsticks
Let’s start with a classic! Imagine pulling these golden, buttery sticks out of the oven, the garlic aroma wafting through your kitchen. To create garlic butter cheesy breadsticks, simply mix melted butter with minced garlic and brush it on top of your breadsticks before baking. Sprinkle with a pinch of sea salt and Parmesan cheese for a flavor explosion. Not only is this an easy way to amplify the taste, but garlic is known for its numerous health benefits, such as boosting the immune system. Dive deeper into the benefits of garlic here.
Spicy Cheesy Breadsticks with Jalapeños
For those who like a little kick in their snacks, spicy cheesy breadsticks with jalapeños are a must-try. Simply dice fresh or pickled jalapeños and fold them into your cheese mixture. A dash of cayenne pepper can also add an extra layer of heat. The combination of gooey cheese and spice in every bite is sure to satisfy an adventurous palate. Did you know that jalapeños are loaded with vitamins and may even boost metabolism?
Herb-Infused Cheesy Breadsticks
Why not introduce a garden-fresh element to your homemade cheesy breadsticks? By adding finely chopped herbs like rosemary, thyme, or basil to the dough or topping, you’ll get a fragrant and flavorful twist. A handful of fresh herbs not only enhances taste but also provides antioxidants for your body! You can discover more about the benefits of fresh herbs here.
Experiment with these variations and treat yourself to a delicious snack any day of the week!
Cooking Tips and Notes for Homemade Cheesy Breadsticks
Tips for Achieving the Perfect Texture
Creating homemade cheesy breadsticks that are perfectly crispy on the outside and soft on the inside isn’t as tricky as it sounds! Here are some quick tips to elevate your breadstick game:
- Use Fresh Ingredients: Fresh yeast, high-quality cheese, and good flour make a noticeable difference.
- Avoid Over-Kneading: Aim for a smooth dough that can hold shape but doesn’t need to be overly worked. This helps maintain that delightful chew.
- Experiment with the Oven Temp: Try preheating your oven to a high temperature (around 475°F). This can help achieve a golden crust while keeping the insides fluffy.
How to Store Leftover Breadsticks
Leftover homemade cheesy breadsticks can be just as delightful on day two! Simply follow these storage suggestions:
- Cool Completely: Allow your breadsticks to cool fully before storing them to prevent condensation.
- Wrap Wisely: Place them in an airtight container or wrap them tightly in foil. This will help keep them fresh.
- Reheat Carefully: When you’re ready to enjoy, reheat them in the oven for a few minutes. This restores their original texture better than microwaving.
For more on bread storage tips, check resources like King Arthur Baking for added insights!
Serving Suggestions for Homemade Cheesy Breadsticks
Pairing with Marinara Sauce
There’s something magical about the combination of homemade cheesy breadsticks and marinara sauce. The rich, tangy flavor of the sauce perfectly complements the gooey, stretchy cheese in your breadsticks, creating a delightful taste explosion. Whether you’re hosting a game night or simply enjoying a cozy evening at home, serve a small bowl of marinara on the side for dipping. Not only does it elevate the flavor, but it also adds a splash of color to your table. Plus, if you’re looking to spice things up, consider adding a pinch of crushed red pepper or garlic powder to the sauce for an extra kick.
Great Alongside Soups and Salads
Imagine cozying up with a steaming bowl of soup, and what’s the perfect companion? That’s right—homemade cheesy breadsticks! They’re not just a side; they’re an experience. Consider dipping them into creamy tomato bisque or pairing them with a refreshing Caesar salad. The cheesy goodness adds a satisfying crunch to any meal while providing a hearty element to lighter dishes. For some inspiration on soups that pair well with cheesy breadsticks, check out the suggestions from Healthline.
So next time you whip up those delectable homemade cheesy breadsticks, think beyond the table. They’re versatile, tasty, and sure to please everyone at the dinner table!
Time Breakdown for Homemade Cheesy Breadsticks
When you’re craving homemade cheesy breadsticks, timing is everything! Here’s a handy breakdown to help you plan your snack attack:
Preparation time
Preparing your dough and toppings takes about 15-20 minutes. This is the fun part where you can be creative! Roll out the dough and sprinkle generous amounts of cheese and spices—feel free to experiment.
Baking time
Once your sticks are ready, it’s time to pop them in the oven for 12-15 minutes. Keep an eye on them; you want that golden-brown finish that makes your mouth water.
Total time
Overall, you’re looking at about 30-35 minutes from start to finish. Perfect for a quick weeknight treat or a movie night snack! For more tips on timing and techniques, check out resources like Serious Eats and Bon Appétit.
Nutritional Facts for Homemade Cheesy Breadsticks
When you’re whipping up a batch of homemade cheesy breadsticks, it’s essential to know what you’re getting nutritionally. These delightful treats are not just mouthwatering but also pack in some notable nutrition. Here’s a quick look:
Calories
A serving of cheesy breadsticks typically contains around 200-250 calories. This can vary depending on the type of cheese and the dough you use. If you’re looking to cut back, consider using a lighter cheese or whole grain flour.
Protein
Each serving boasts about 8-10 grams of protein, thanks to the cheese. Protein is fantastic for muscle repair and keeping you full, perfect for those busy weekdays. For a protein boost, try adding some turkey bacon or chicken ham as toppings!
Sodium
Sodium levels can be higher due to the cheese and any seasonings you add. Expect around 400-600 mg of sodium per serving. If you’re watching your sodium intake, opt for reduced-sodium cheese or fresh herbs instead of salt for flavor.
For more detailed nutritional insights, check out resources like Healthline or NutritionData. Knowing the nutrition behind your meal helps make every bite even more enjoyable!
FAQs about Homemade Cheesy Breadsticks
Can I freeze homemade cheesy breadsticks?
Absolutely! Freezing your homemade cheesy breadsticks is a great way to enjoy them later. After baking and cooling, you can place them in an airtight container or freezer bag. When you’re ready to indulge, simply reheat them in the oven at 350°F for about 10-15 minutes. This method ensures they maintain their cheesy goodness and crispy texture. Need tips on freezing bread? Check out this helpful guide for more information.
What can I use instead of mozzarella cheese?
If mozzarella isn’t your favorite or you need a dairy-free option, there are plenty of alternatives! Here are a few substitutes that work great in homemade cheesy breadsticks:
- Cheddar Cheese: Adds a sharp flavor that pairs well with garlic and herbs.
- Parmesan Cheese: A sprinkle on top can create a delightful, crusty finish.
- Vegan Cheese: Many brands have excellent meltability, perfect for keeping things dairy-free.
Don’t hesitate to mix and match these options to create your perfect blend. You might even start a new favorite!
How do I make breadsticks crispy?
For those perfectly crisp homemade cheesy breadsticks, consider these handy tips:
- Use a Baking Steel or Stone: These tools help retain heat and provide a crispy crust.
- Twice-Bake Method: Bake your breadsticks once, let them cool, then pop them back in the oven at a higher temperature for a few minutes.
- Brush with Olive Oil: A light coating before baking enhances crispiness and adds flavor.
Do you have a special technique? Share your secrets and let’s create the ultimate cheesy breadstick experience!
Remember, experimentation is key in the kitchen. Happy baking!
Conclusion on Homemade Cheesy Breadsticks
Why You’ll Love Making Them at Home
Creating homemade cheesy breadsticks is not just about the delicious end product; it’s about the experience. You get to control every layer, from the dough to the cheese blend, ensuring it’s tailored to your taste. Plus, there’s nothing quite like the enticing aroma of freshly baked breadsticks filling your kitchen.
The joy of sharing warm, cheesy snacks with friends or family is irreplaceable. You can elevate these breadsticks with your favorite toppings—think garlic, turkey bacon, or even chicken ham. So, roll up your sleeves and try making these bites of bliss; you’ll likely enjoy the process just as much as the snacking!
For the ultimate guide on perfecting homemade bread, check out King Arthur Baking.
PrintHomemade Cheesy Breadsticks: The Best Comfort Food Recipe
Enjoy these delicious homemade cheesy breadsticks as the perfect comfort food.
- Prep Time: 20 minutes
- Cook Time: 20 minutes
- Total Time: 40 minutes
- Yield: 12 breadsticks 1x
- Category: Appetizer
- Method: Baking
- Cuisine: Italian
- Diet: Vegetarian
Ingredients
- 2 cups all-purpose flour
- 1 tablespoon yeast
- 1 teaspoon sugar
- 1 teaspoon salt
- 3/4 cup warm water
- 1 tablespoon olive oil
- 1 cup shredded mozzarella cheese
- 1/4 cup grated Parmesan cheese
Instructions
- Preheat the oven to 400°F (200°C).
- In a large bowl, mix the flour, yeast, sugar, and salt.
- Add the warm water and olive oil to the dry ingredients and mix until a dough forms.
- Knead the dough on a floured surface for about 5 minutes.
- Roll the dough to your desired thickness and cut into strips.
- Place the strips on a baking sheet and sprinkle with mozzarella and Parmesan cheeses.
- Bake for 15-20 minutes or until golden brown.
- Remove from oven and allow to cool slightly before serving.
Notes
- For extra flavor, brush melted butter and sprinkle garlic powder on top before baking.
- Serve with marinara sauce for dipping.
Nutrition
- Serving Size: 2 breadsticks
- Calories: 150
- Sugar: 1g
- Sodium: 210mg
- Fat: 6g
- Saturated Fat: 3g
- Unsaturated Fat: 2g
- Trans Fat: 0g
- Carbohydrates: 20g
- Fiber: 1g
- Protein: 6g
- Cholesterol: 15mg
Keywords: Homemade Cheesy Breadsticks, Comfort Food, Breadsticks Recipe